Appearance
Microsoft Entra ID Single Sign-On
During the onboarding process for Hexiosec Transfer Enterprise, the Enterprise Application side of an Entra ID deployment can be automatically set up after the application is approved.
At first sign in, you may be prompted to consent to the use of this application within your Microsoft Entra tenant. We recommend consent is granted by an administrator on behalf of all users of the application, usually by a user with the Global Administrator and/or App Administrator role.
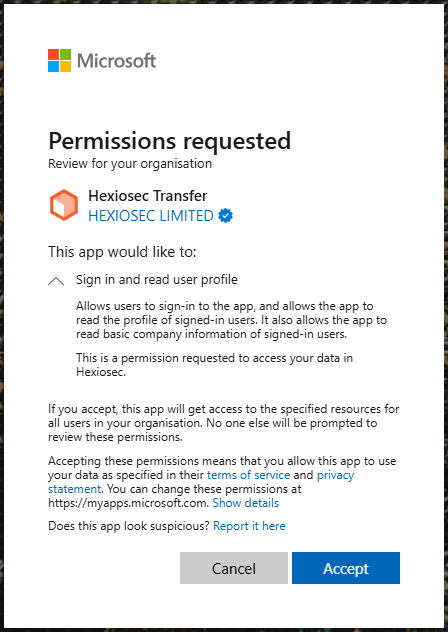
We only require basic access to user profile information in order to faciliate single sign-on. Whilst Enterprise tenant instances can have the application name customised, this permissions prompt will always say Hexiosec Transfer, published by HEXIOSEC LIMITED.
Managing your Enterprise Application
Once consent has been granted Hexiosec Transfer will appear within your list of Enterprise Applications within the Microsoft Entra Portal:
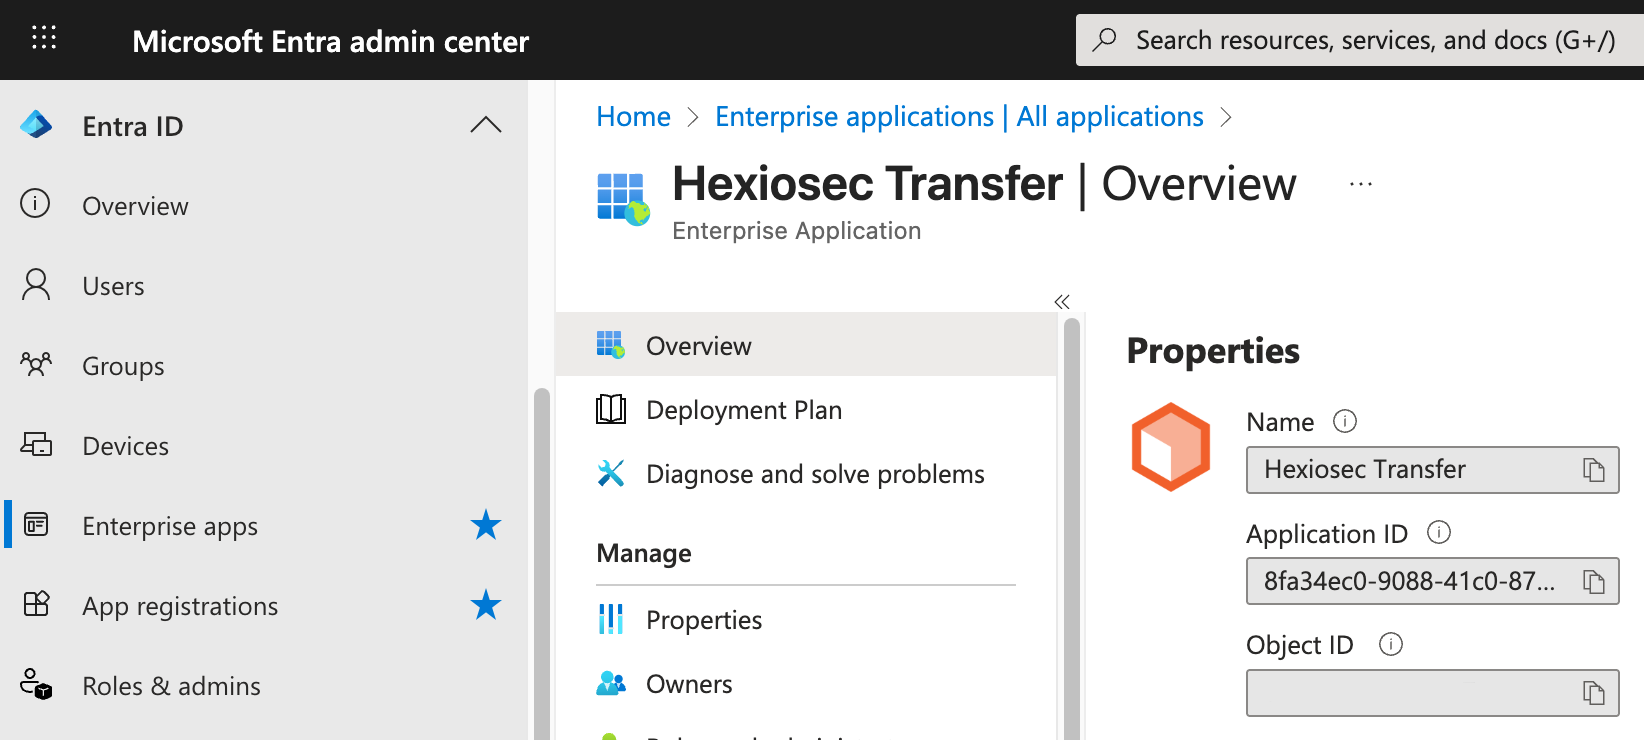
This can be identified via the Application ID 8fa34ec0-9088-41c0-87d6-56e17a980e95 which does not change.
Selecting Manage > Properties within the settings allows for the Enterprise Application to be further customised:
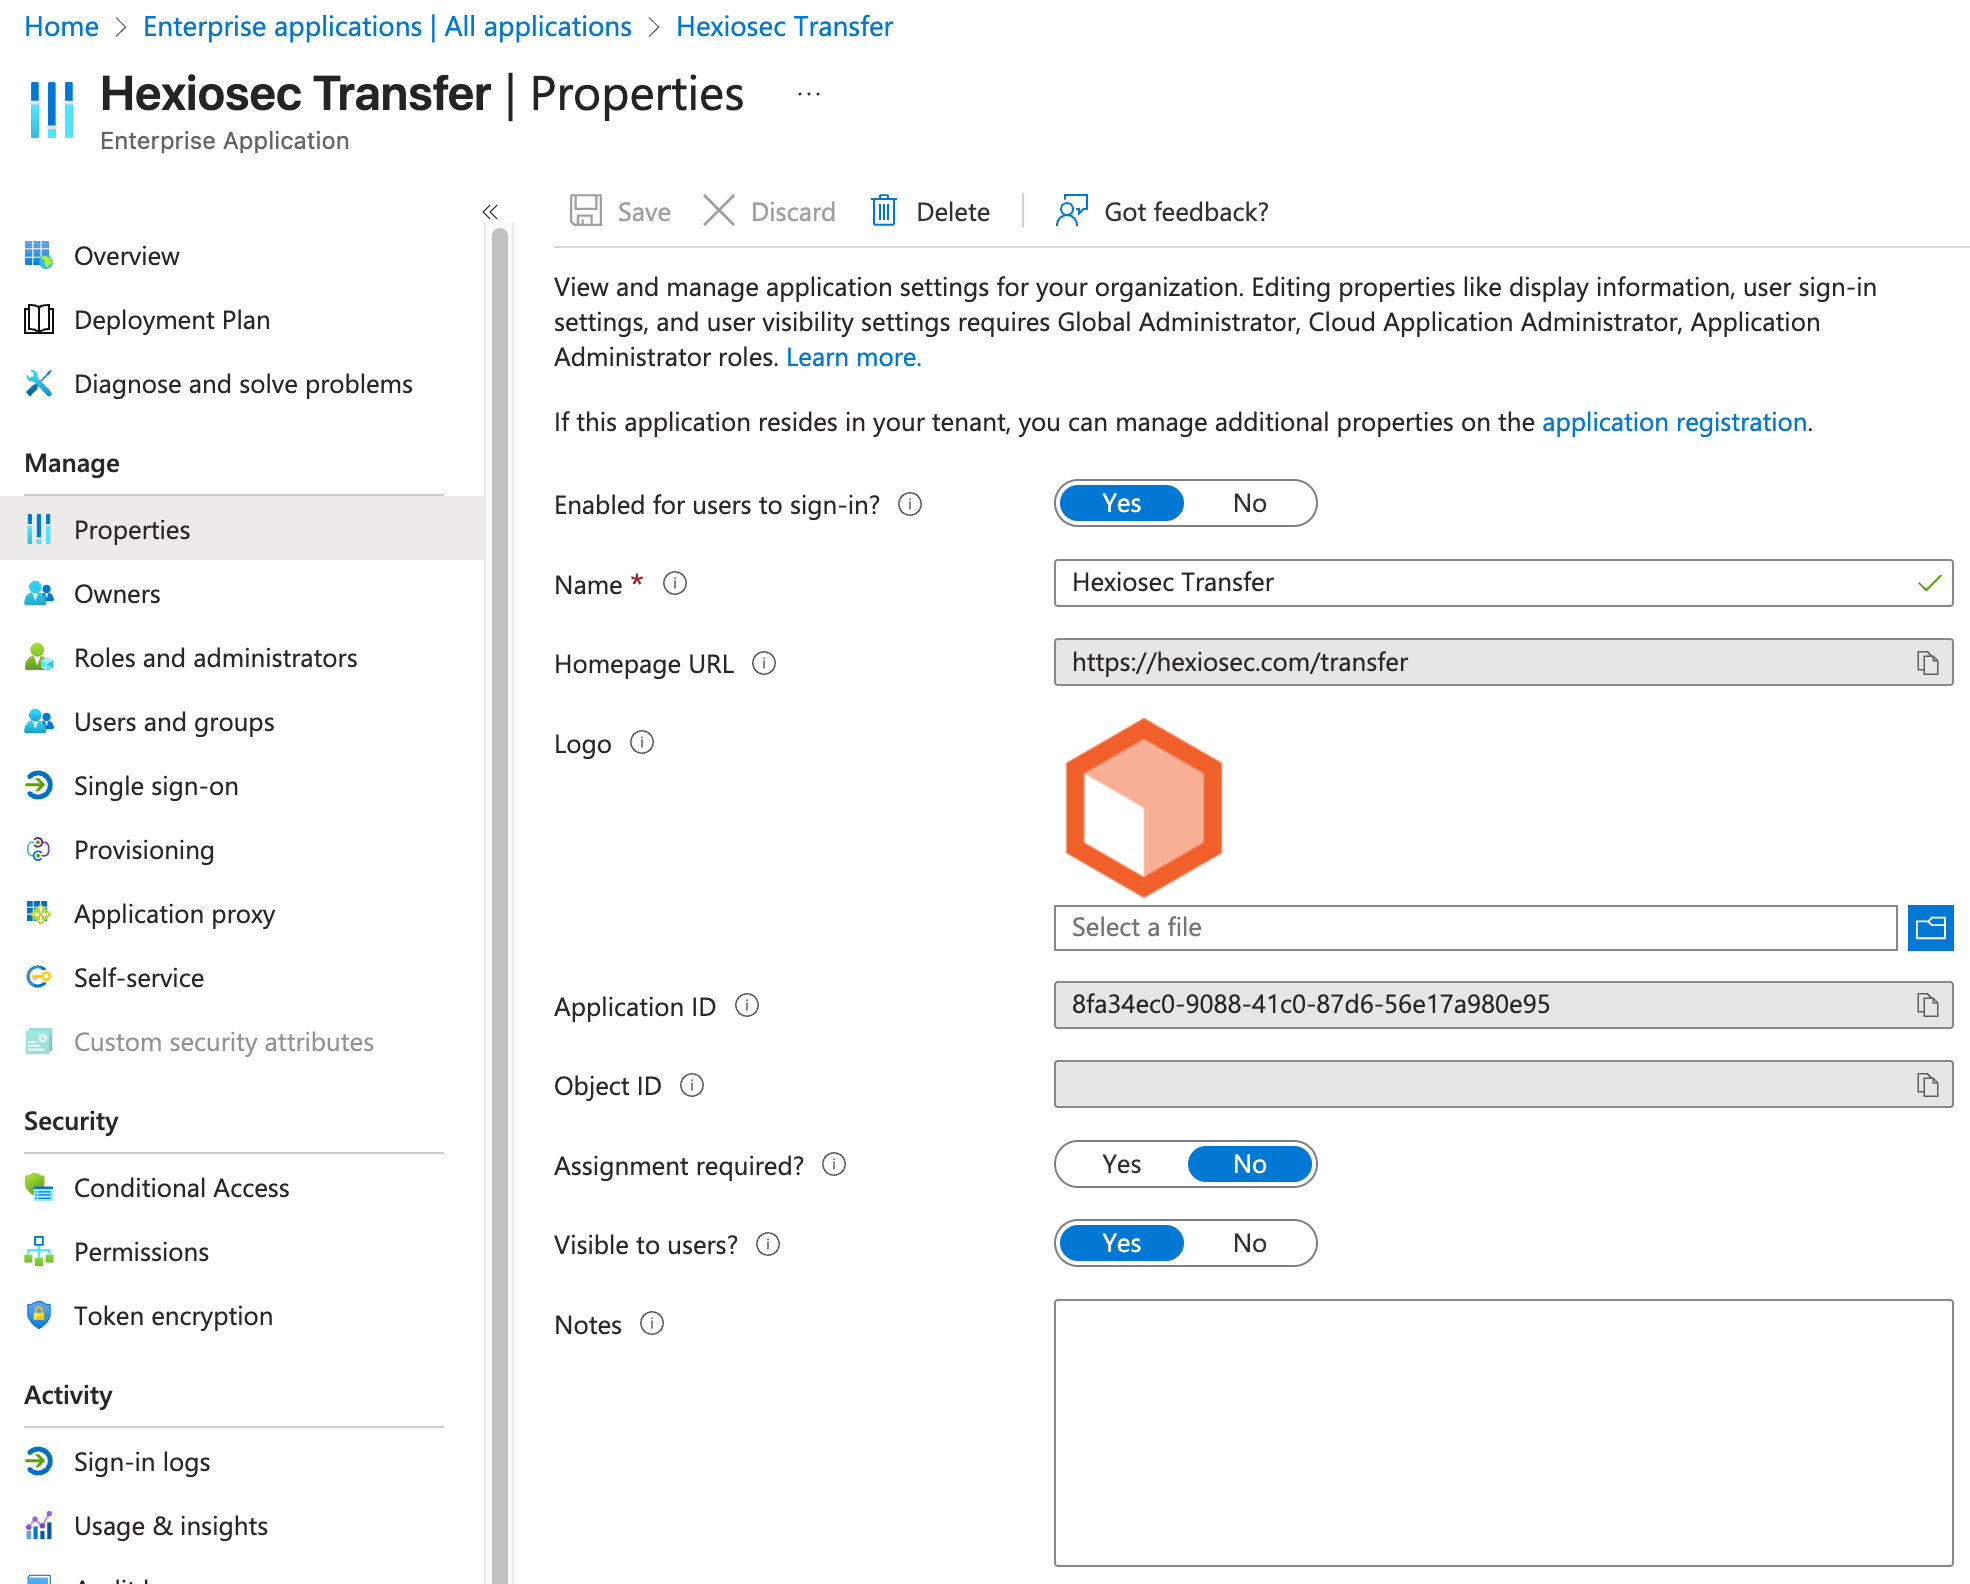
If it is necessary to limit the use of Hexiosec Transfer to a subset of users, Assignment required? must be selected and the eligible users defined under Manage > Users and groups.
Custom App Registrations
It is possible to manually create your own Application Registration within your Entra ID environment, which allows for more advanced deployments.
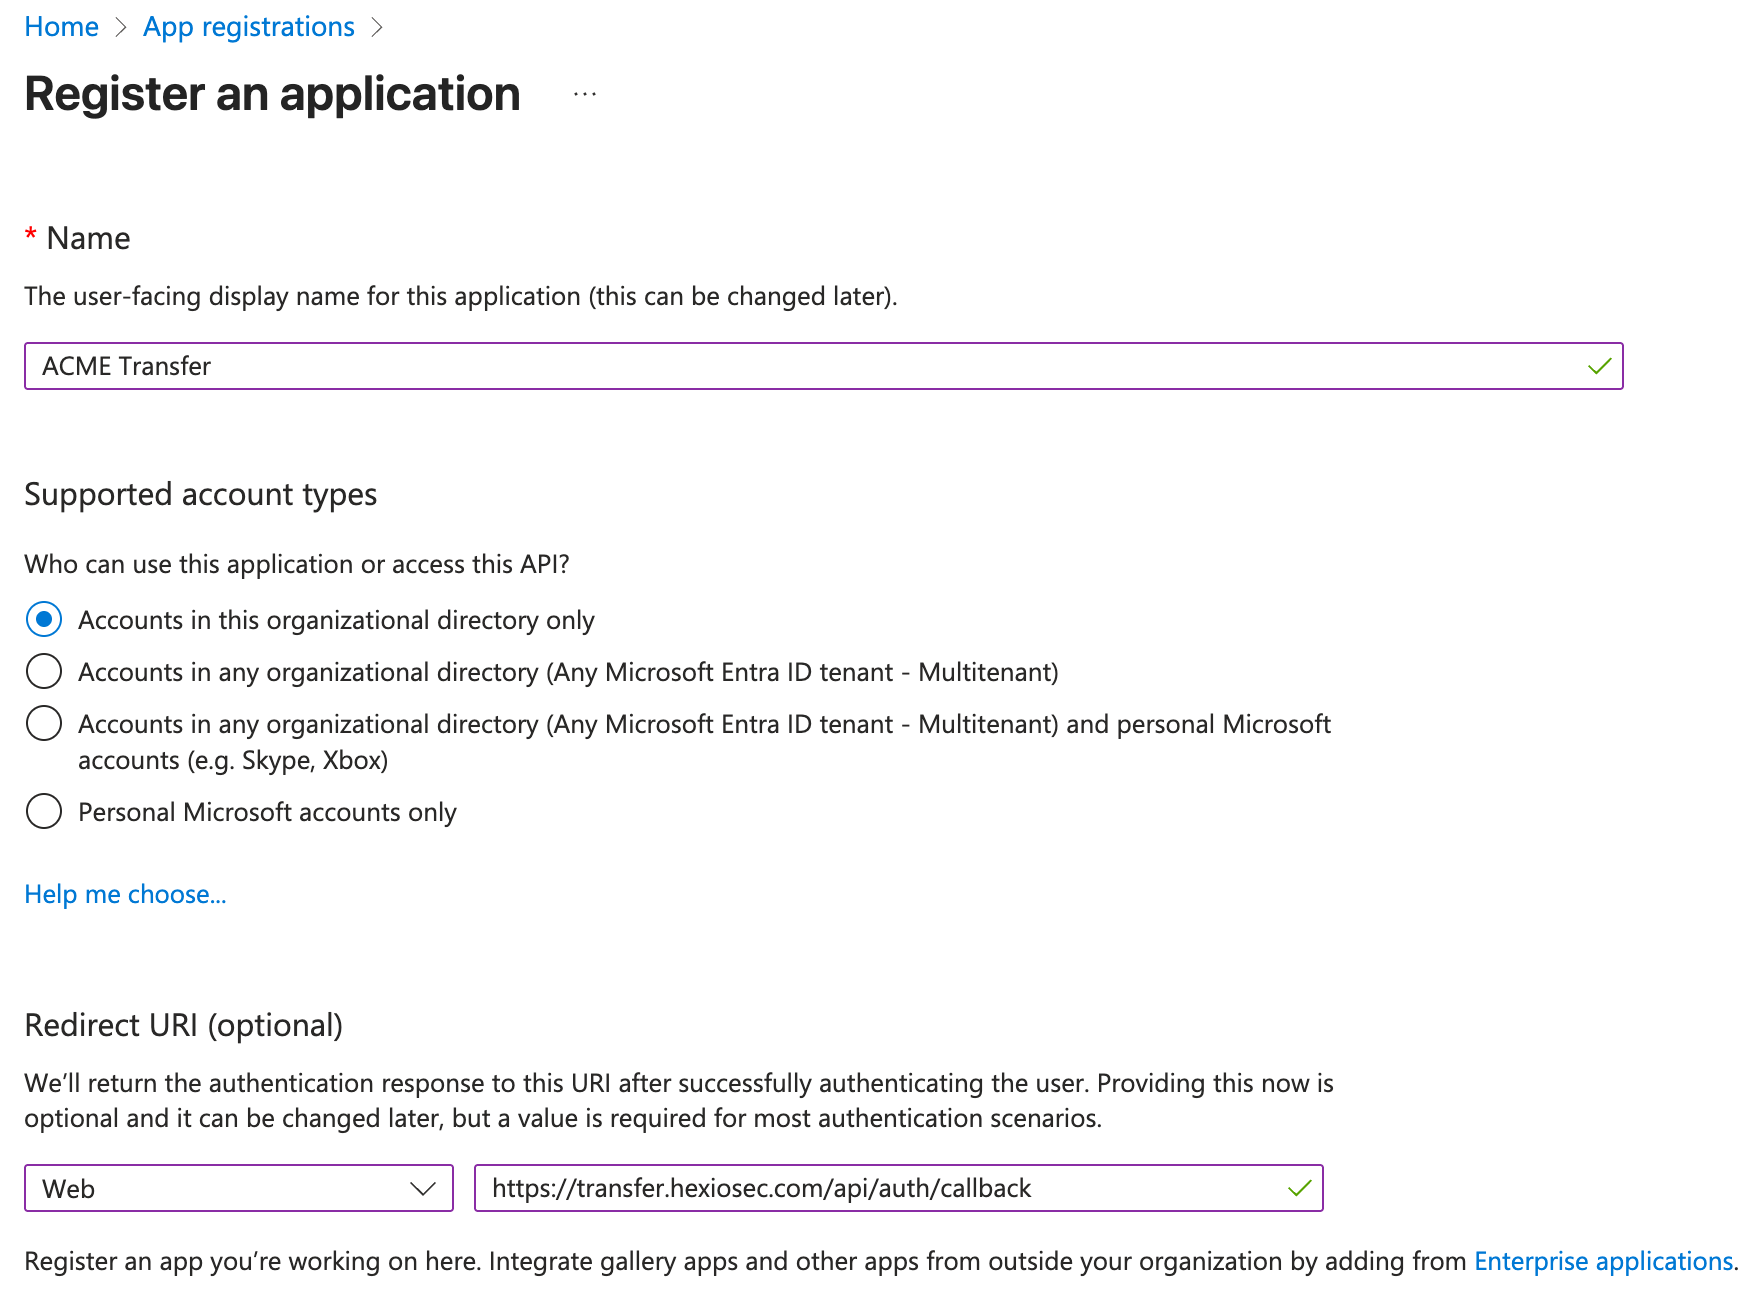
From App Registrations, select New registration:
WARNING
Supported account types must be set to Accounts in this organizational directory only.
Update the application name to match your tenant, and set the Redirect URI to Web, with https://transfer.hexiosec.com/api/auth/callback.
Once this has been created, share the resulting Application ID with Hexiosec Support.
Token Configuration
Once the application has been created, proceed to Manage > Token configuration and select Add optional claims:
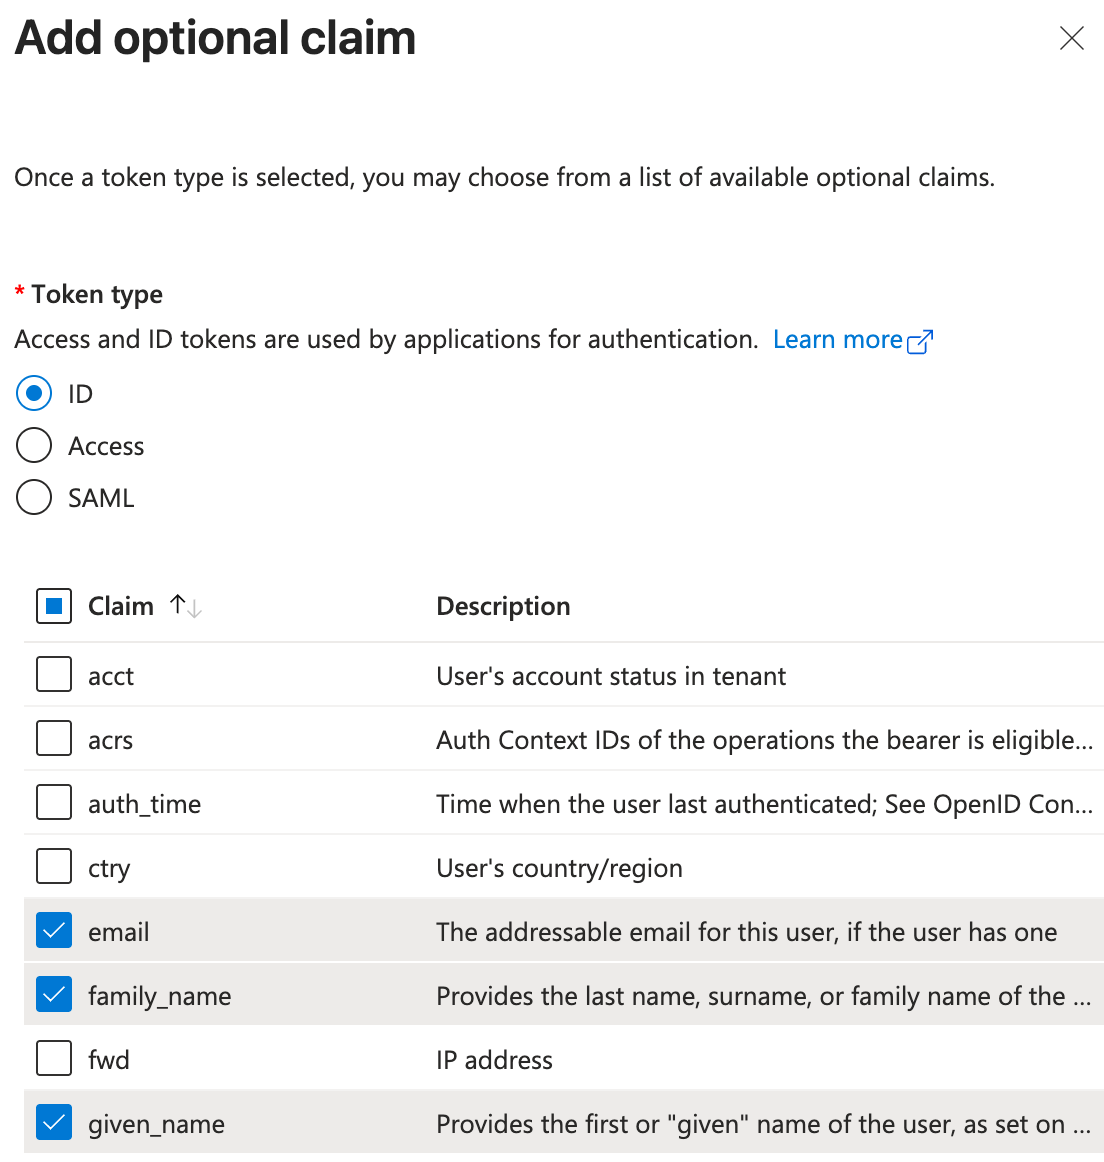
The email, family_name, and given_name optional claims must be selected for the ID Token type, and then click Add.
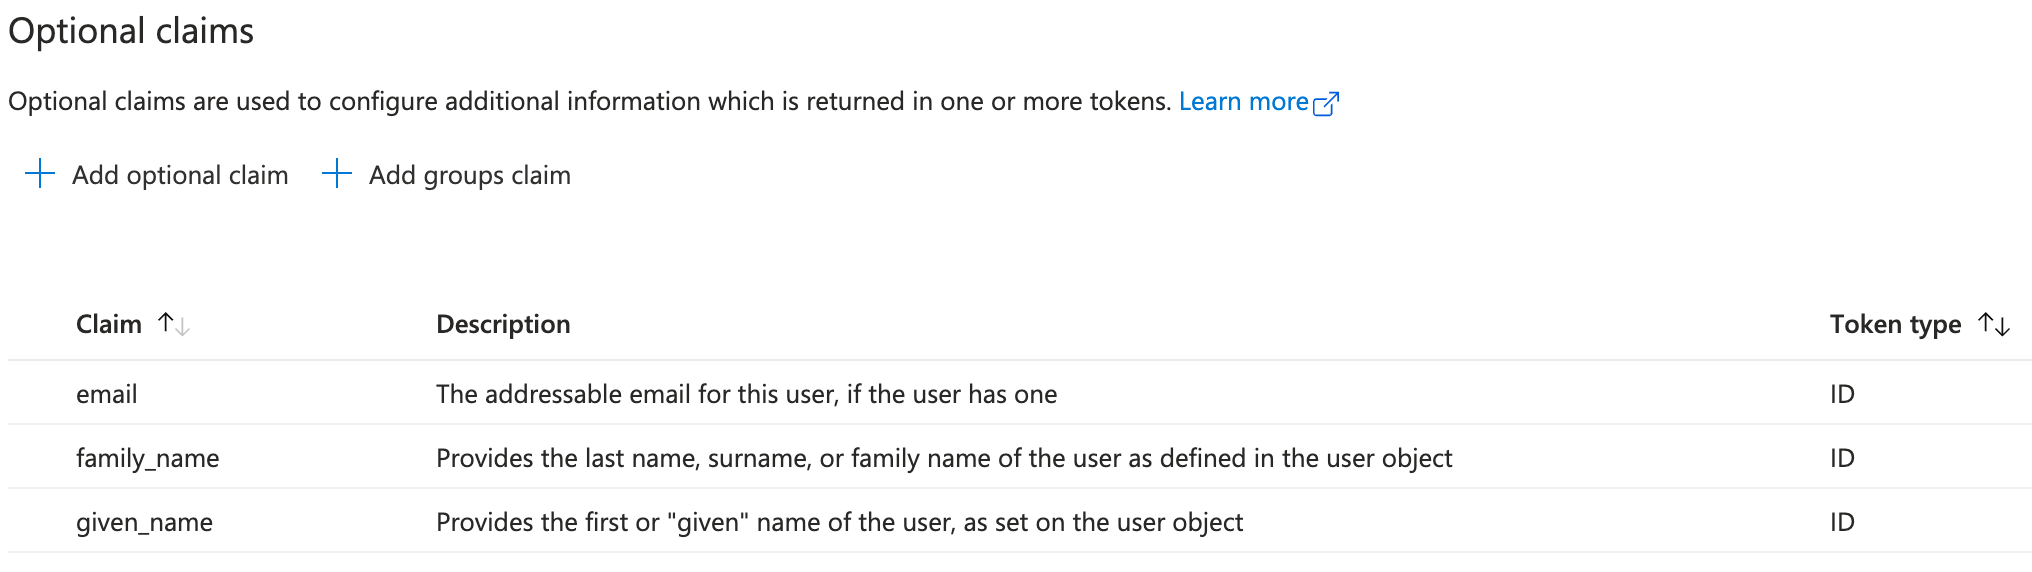
Once configured, the list should look as follows:
Client Secret
In order to complete the authentication flow a Client Secret must be created. This can be added from Manage > Certificates & secrets under the application registration.
Under the Client secrets tab, select New client secret and add a Description and Expiry.
WARNING
You must supply a new Client Secret to Hexiosec in advance of the selected expiry.
Click Add, and ensure the generated value is shared securely with Hexiosec Support along with the Application ID from the previous steps, who can provide a secure sharing link.