

Appearance
INFO
Please note that the options available to use may be dependent on the licence tier that the sender is using, refer to our pricing plans for more information.
Spaces
Create a secure Space to share files between a group of people, protected using end-to-end encryption.
Creating a new Space
When you create a new Space, a Space name and expiration date will need to be set, and both can be amended after the Space has been created. However, once a space expires, it cannot be reinstated, and no one, not even the Space owner, can access the content.


Space member roles
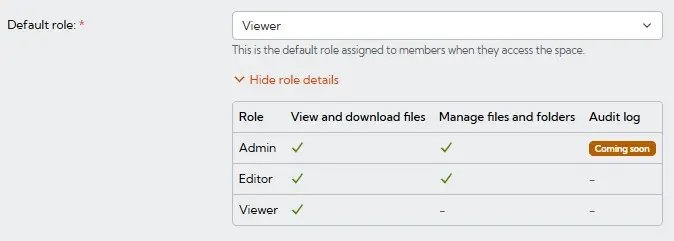
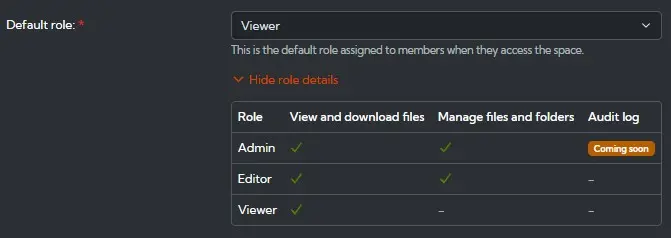
The default role for invited users can be set, a drop-down shows the access for each role with the default being Viewer. This is the default applied to all invites, this can be amended when an individual user is invited.
Additional security settings (optional)
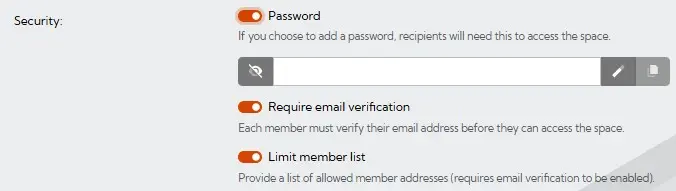
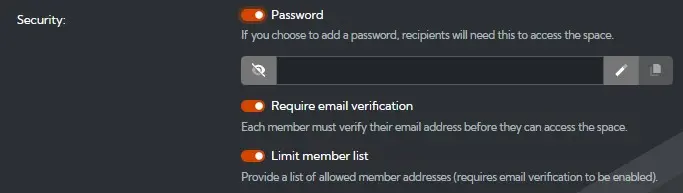
Adding a password provides an extra layer of security and is optional (see using a password). The password must be sent via a separate method to the Spaces invite. For example if the link or code is emailed, then send a text message with the password.
WARNING
The password must be sent by a different method to the link else the additional security benefit is lost.
An extra layer of security can be enabled by requiring the recipient to verify their email address before they can access the Space. The recipient list can be limited so that only the recipients specified in the address box will be authorised to access the Space, but if you don't limit the member list then anyone with the sharing link can access the space. The recipients will be emailed a one-time access code but if the recipient is already logged in as a Hexiosec Transfer user, they will not be sent an access code as they are already authenticated.
WARNING
The email verification option and the limit members option cannot be amended after the Space has been created.
Space members


As part of creating the space, you can invite members, but this is optional at this stage. If you don't add any invites here, only you will have access to the space. Members can be added and removed after the Space has been created, and members' roles can be changed.
Using Spaces
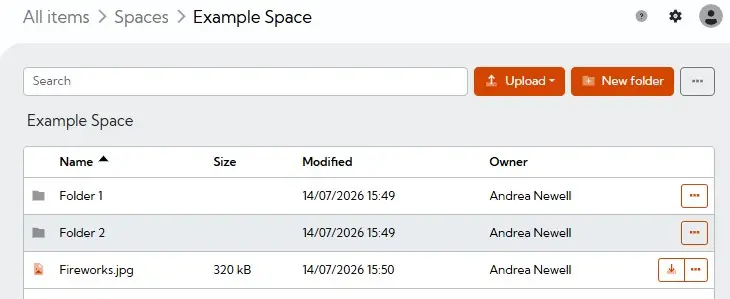
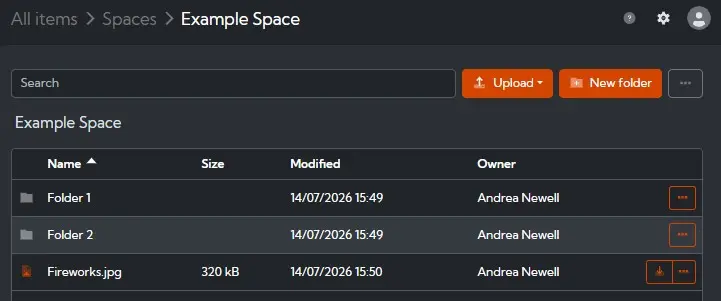
Files and folders can be uploaded into the Space and will be accessible to the users who have been granted access, or to anyone with the sharing link if the access hasn't been limited. Folders can be created within the space to organise the contents.
Amending Space Settings
The Space name, expiration and default member role can be amended after the Space has been created. Select Settings from the ellipsis in the All Items > Space view or from within the Space.
Deleting a Space
To delete a space, select delete via the ellipsis in the All Items > Spaces view. This immediately removes all access to all of the space content, even the space owner. All documents are deleted.